Building & Customizing Your Template
Locating Survey Templates in Canvas Commons
If you are signed into Canvas, the links in the Available Templates section above should direct you to the appropriate resource page in Canvas Commons. If these links don’t work, access templates by doing the following:
- Log into your Canvas account
- Click the “Commons” button on the Global Navigation bar (see image to the left)
- Search for the survey you wish to retrieve. The title and search terms are provided for each survey in the section above
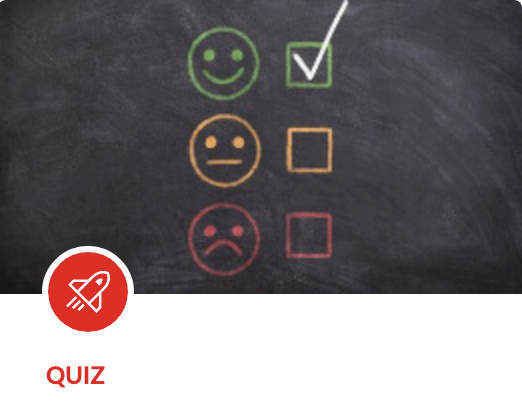
- Click on the title of the survey to open the resource page. The surveys provided by CIRCLE and the CTL will contain this image:
Importing Survey from Canvas Commons into your Course
Once you reach a survey page, either via direct link or search, import into your course by doing the following:
- Click the blue “Import/Download” button on the right.
- In the pop-out menu, check all courses where you plan to use the survey, then click the blue “Import into Course” button.
- Use the Canvas Dashboard to navigate to your course. The survey will now appear in the “Assignments” and “Quiz” sections, and can be relocated and customized within the course.
Customizing an Imported Survey
Surveys will be imported into your course with default settings and questions. This section outlines how to change default settings and edit the survey questions to better fit your needs.
- In the Course Navigation bar on the left, click “Quizzes”, scroll to the “Surveys” section, and select the survey you wish to edit.
- Click the “Edit” button at the top right.
- Change settings while in the “Details” tab
- By default, imported surveys are not worth any credit. To give completion points:
- Scroll to Quiz Type dropdown and change from “Ungraded Survey” to “Graded Survey.”
- In the “Score” box, input the number of points students should receive for completing the survey.
- By default, imported surveys are anonymous. To make responses identifiable, click to uncheck the “Keep Submissions Anonymous” Box (Note this is generally not recommended)
- By default, imported surveys are not worth any credit. To give completion points:
- Click on the “Questions” tab to see the list of default questions, and check the “Show Question Details” box to view the response options.
- To revise a question, scroll to it and click the pencil icon on the right. Edit the stem and/or response options, and be sure to click “Update Question" at the bottom left to save your changes.
- To delete a question, scroll to it and click the X-shaped delete icon on the right. NOTE: one important change you might want to make is removing open-ended questions (see section Potential Advantages and Disadvantages of Open-ended Survey Questions)
- To add a question, click the “New Question” button at the bottom, select a question type from the dropdown, fill out question stem, response options, and other information as needed and be sure to click “Update Question" at the bottom left to save your changes.
- To reorder a question, scroll to it, click the dotted icon on the left, and drag to a new location.
- Be sure to click the “Save” button at the bottom right to save all quiz edits.
For more detail on creating and editing surveys see General technical guidance on creating surveys using the Quizzes tool in Canvas.


